
AC Leaking Water: Quick Fixes and When to Call a Pro

Water pooling near your indoor AC unit almost always traces back to one of three problems: a clogged condensate drain line, a frozen evaporator coil, or a cracked drain pan. If that water is anywhere near an electrical panel, thermostat wiring, or an outlet, shut the system off at the thermostat and flip the breaker before you do anything else.
Turn the AC off first, ask questions second.
Mop up standing water and set towels or a shallow bin under the leak.
A clogged drain line causes most indoor leaks, according to Carrier’s troubleshooting guide.
Pro Tip: Snap a couple of photos of the puddle and the unit before you clean up. If you end up calling a technician, that visual record saves diagnostic time.
Key Takeaways
Most indoor AC leaks trace back to a clogged condensate drain line or a frozen coil, and shutting the system off immediately prevents the damage from spreading.
Point | Details |
Turn it off first | Shut the thermostat and breaker off immediately if water is near electrical components. |
Check the filter and drain line | A dirty filter or clogged condensate line causes most indoor AC leaks. |
Let ice thaw completely | A frozen coil can keep leaking for hours after shutdown as meltwater overwhelms the pan. |
Know your limits | Refrigerant leaks and pan replacement require an EPA-certified HVAC technician, not a DIY fix. |
Get local help when needed | Texas Comfort Crew offers honest diagnosis and repair-first service across the Greater San Antonio area. |
Table of Contents
What To Do In The First 10 to 30 Minutes
Move fast, but move in this order:
Switch the thermostat to “off,” not just to fan.
Flip the AC breaker in your electrical panel so the system can’t cycle back on by itself.
Blot or vacuum standing water away from baseboards, wood flooring, and any nearby outlets.
Slide a towel or shallow pan under the active drip so it doesn’t spread further.
Peek at the visible condensate drain line, usually a white PVC pipe near the outdoor unit or in a closet, for an obvious clog or disconnection.
Stop and call a technician immediately if you smell anything unusual, see sparking, or the water keeps rising no matter what you contain.
Pro Tip: Before you touch anything electrical, remember Trane advises against running a leaking unit at all since continued operation tends to compound the water damage and can stress the compressor.
Common Causes Of An AC Unit Leaking Water Indoors
Most indoor leaks come down to a handful of repeat offenders. Here’s how to tell them apart.
Clogged condensate drain line. Algae, dust, and debris build up inside the drain line over months of humid operation. You’ll see water backed up in the drain pan or a slow, sluggish drip instead of steady flow. A wet/dry vacuum pulled against the outdoor drain line opening often clears it in minutes, and flushing the line afterward with a cup of distilled vinegar helps break down any remaining buildup. If the clog keeps coming back within weeks, the line likely needs a professional cleanout.
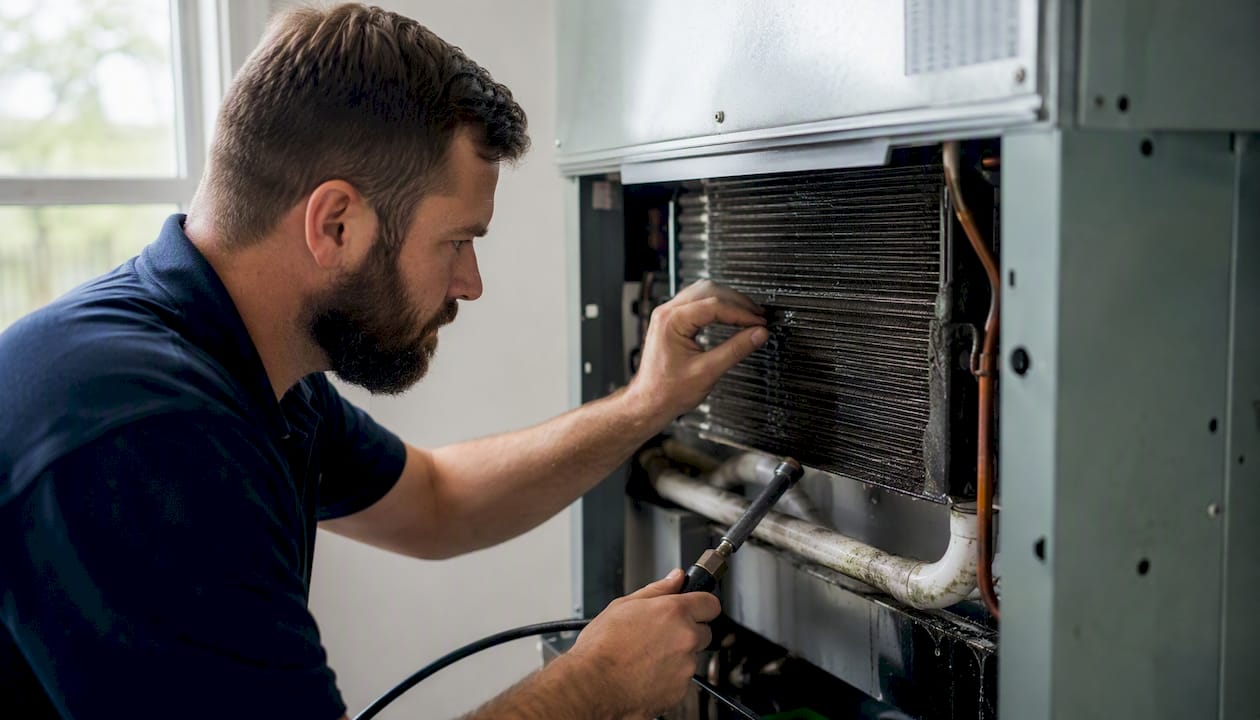
Frozen evaporator coil. A dirty air filter restricts airflow across the coil, and the moisture on it freezes into a sheet of ice instead of draining normally. Low refrigerant does the same thing, dropping coil temperature below what’s normal. You’ll spot frost or solid ice on the copper lines near the indoor unit. Turn the system off and let the ice thaw fully, which can take several hours, before running it again. If the freeze returns after a fresh filter and a full thaw, refrigerant is almost certainly the culprit, and that’s a job for a certified technician.
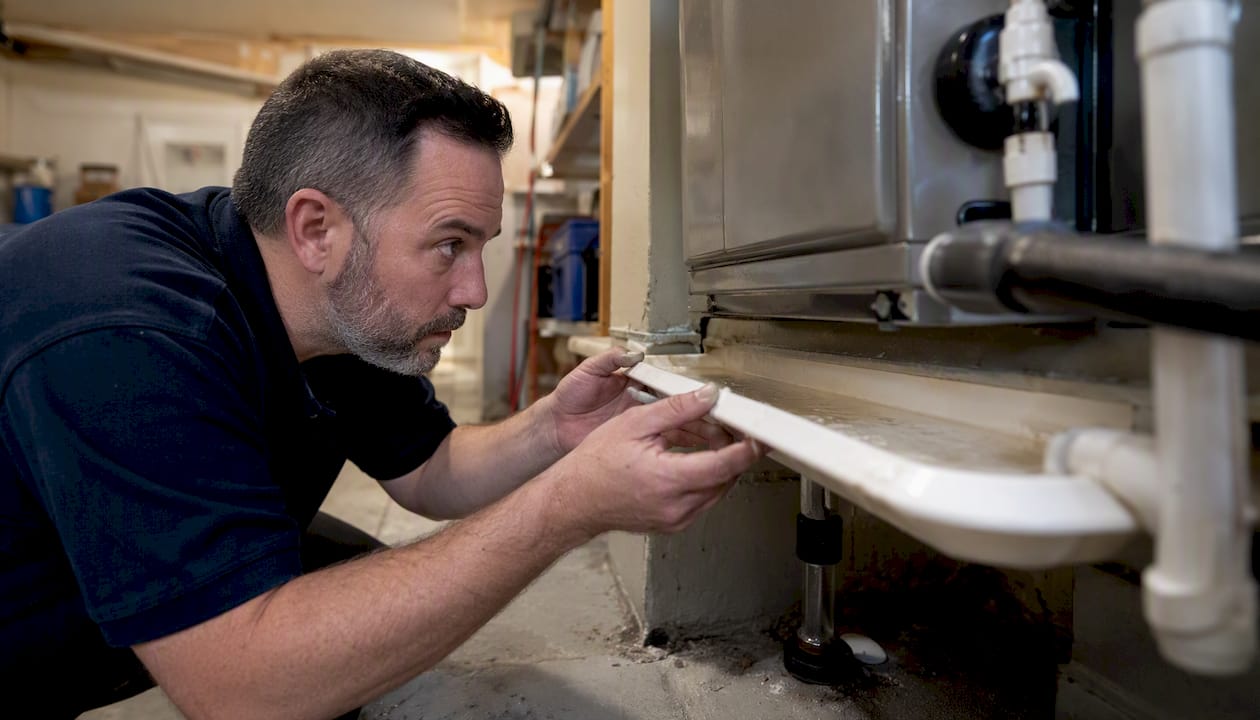
Damaged or rusted drain pan. Pans corrode over time, especially in older systems, and once a pan cracks, water bypasses the drain line entirely. Look for rust streaks, flaking metal, or water appearing right at the base of the indoor unit rather than at the drain outlet. A cracked pan can be temporarily lined or sealed, but pan replacement is a professional repair since it usually involves partially disassembling the air handler.
Disconnected or improperly sloped drain line. If a line was installed without enough pitch, or a fitting worked loose over time, water pools instead of draining downhill. This shows up as a leak that seems to start “from nowhere” right at a joint or elbow in the pipe. Reconnecting a slipped fitting is sometimes a simple DIY fix, but re-sloping a line usually means a technician needs to access the attic or crawlspace.
Malfunctioning condensate pump. Systems located in basements or areas without gravity drainage rely on a small pump to push water out. Test it by pouring a cup of water into the pump reservoir. If the pump doesn’t kick on, it has failed and needs replacement, which is inexpensive as HVAC parts go.
High indoor humidity or an undersized system. An AC that’s too small for the space runs constantly without ever fully dehumidifying the air, and excess condensation can overwhelm even a healthy drain system. Running a dehumidifier alongside the AC and sealing obvious air leaks around windows and doors reduces the load.
Damaged pipe insulation. Bare or worn insulation on refrigerant lines causes condensation to drip along the pipe instead of at the coil. Inspect any accessible foam sleeving for gaps or cracking; rewrapping exposed sections is a low-cost fix, though lines running through walls need a technician.
Homeowners frequently forget there’s often a second drain pan tucked under attic or closet installations, and water showing up there is a stronger red flag than water at the primary pan since it usually means the main line is already blocked and damage may be spreading unseen.
Pro Tip: If your unit has a secondary pan, check it during every filter change. It’s the earliest warning sign you’ll get before ceiling stains show up.
Step-by-Step Diagnostic Checklist
Work through these checks in order rather than jumping around. Each step rules something out before you move to the next.
Power down the system and clear any standing water.
Pull the air filter and hold it up to a light. If you can’t see through it, that’s likely restricting airflow enough to freeze the coil.
Look at the evaporator coil (behind the indoor unit’s access panel) for frost or ice buildup.
Check the drain pan for visible cracks, rust, or rising water level.
Trace the condensate line to its outdoor termination point and look for blockage or a disconnected joint.
If a condensate pump is present, test it with a small amount of water poured into the reservoir.
For the drain line, a shop vac sealed against the outdoor PVC opening for a minute or two usually pulls out the clog, and following up with a vinegar flush keeps algae from rebuilding quickly. Never open the unit’s electrical panel or attempt to touch refrigerant lines yourself. Diagnosing a frozen coil is fine as a homeowner; diagnosing why it’s low on refrigerant requires a certified technician with gauges and a leak detector.
When To Call An HVAC Technician (And What It Costs)
Some fixes are genuinely DIY. Others carry real risk if you attempt them without training or the right tools.
Refrigerant leaks. A system that’s low on refrigerant has a leak somewhere in a sealed loop, and locating plus repairing that leak requires EPA-certified handling in the United States.
Cracked or corroded drain pans. Pan replacement often means partial disassembly of the air handler.
Persistent leaks after DIY cleaning. If you’ve cleared the drain line and changed the filter and water still returns within days, something upstream needs professional attention.
Water in a secondary attic or closet pan. This signals a blocked primary line with real risk of ceiling or drywall damage.
Any water near exposed wiring or breaker panels. Don’t take chances with electrical components sitting in standing water.
Costs vary widely depending on what’s actually wrong and your local market, so treat any number here as a rough starting point rather than a quote. A professional drain line cleaning tends to run toward the lower end of a typical HVAC service call, while pan replacement or refrigerant leak repair costs considerably more once parts and diagnostic time are factored in. An in-home inspection is really the only way to get an accurate number, since a “small leak” can turn out to be a symptom of a bigger issue once a technician opens the unit.
Preventing Future AC Leaks
A little routine maintenance heads off most of the causes above before they turn into a puddle on your floor.
Change or clean the air filter regularly, more often if you have pets or run the system constantly.
Flush the condensate drain line periodically, even if nothing seems wrong yet.
Schedule a professional tune-up each year before cooling season ramps up.
Test the condensate pump and inspect the drain pan during that same seasonal visit.
Consider adding a clean-out access fitting to the drain line if your system doesn’t have one; it makes future flushing far easier.
Manufacturer troubleshooting guides consistently point to the same short list of causes: clogged lines, dirty filters, and aging drain pans. Most leaks really are maintenance issues, not major mechanical failures.
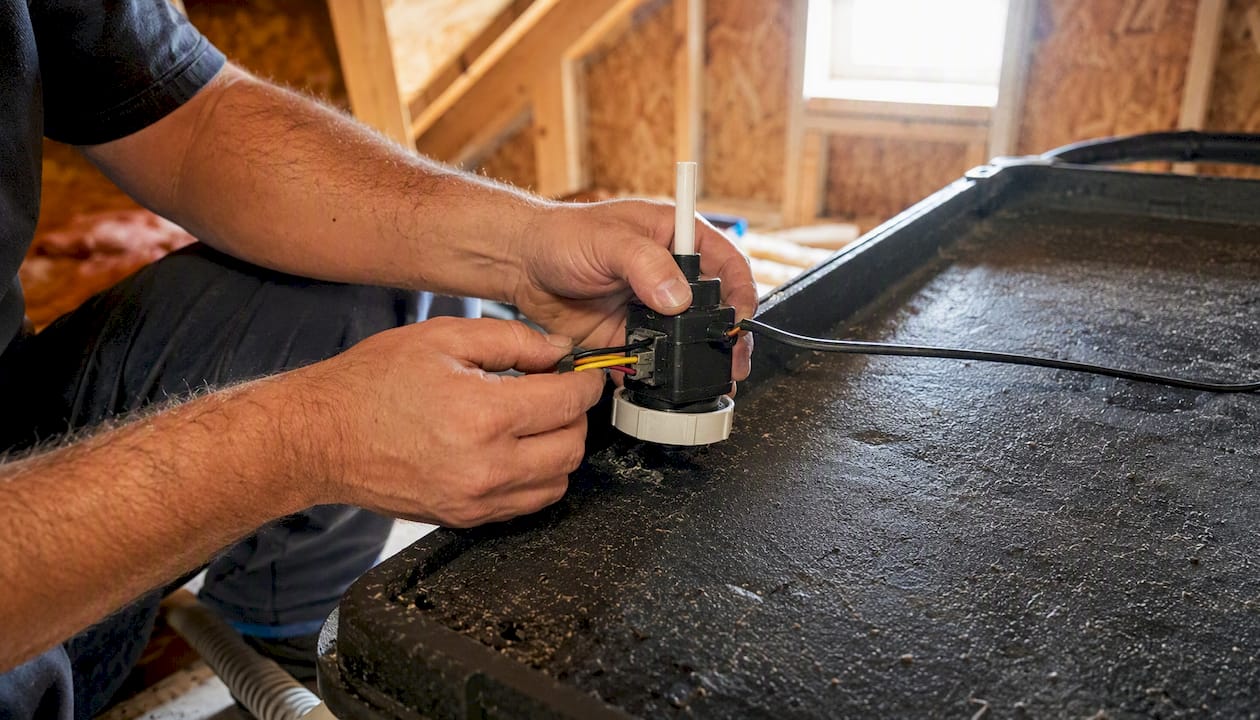
Pro Tip: A $30 to $50 float switch installed on the drain pan shuts the whole system down automatically the moment water rises too high. It’s one of the cheapest insurance policies you can add to an AC unit.
Why Refrigerant Problems Usually Need A Certified Technician
Low refrigerant doesn’t just run out on its own. It means the sealed system has a leak somewhere, and finding that leak safely requires certified equipment and training.
Confirming a refrigerant leak points to a breach in a closed-loop system that only a certified technician can properly repair, since refrigerant handling is federally regulated and not something to attempt with store-bought tools.
Pro Tip: Letting a frozen coil thaw naturally before restarting the system can take hours, and the meltwater can flood a drain pan that seemed fine an hour earlier. Don’t assume the leak is fixed just because it’s stopped for now.
A Note From Texas Comfort Crew
We built Texas Comfort Crew around honest diagnosis and transparent pricing, fixing what’s actually broken instead of pushing a full system replacement. If you’re in the Greater San Antonio area, local help is closer than you think.
If You Prefer A Pro: What A Trusted HVAC Visit Looks Like
A solid technician doesn’t guess. Expect a full visual inspection of the coil, pan, and drain line, followed by a proper drain-line cleaning, a pressure and refrigerant check if freezing is involved, and pan repair or replacement if it’s corroded. Condensate pump testing and replacement, along with advice on preventing repeat moisture damage, should all be part of that same visit.
Before the appointment, gather any photos or video you took of the leak and jot down your last filter change or tune-up date. Texas Comfort Crew technicians serve homeowners across the region, including the Spring Branch, New Braunfels, and Helotes areas, and if a leak has already caused water damage that reaches your plumbing or foundation, our plumbing team handles that too. Check our full service area coverage or ask about a maintenance membership that keeps this from happening again, then request a visit to get an actual inspection instead of a guess.
Sources
Guidance above draws on troubleshooting pages from Trane, Carrier, and Bryant. Confirm exact costs with a local inspection.
FAQ
Can I Still Run My AC If It’s Leaking Water?
No. Running a leaking unit tends to worsen water damage and mechanical strain, so shut it off at the thermostat until the cause is identified.
Is A Leaking AC Unit An Emergency?
It depends on location: water near electrical panels or a secondary attic pan needs immediate attention, while a slow drip into a floor pan gives you time to troubleshoot safely first.
What Should I Do When My AC Leaks Water?
Turn the system off, contain the water, check the filter and visible drain line for obvious clogs, and call Texas Comfort Crew or another licensed technician if the leak involves ice, refrigerant, or a damaged pan.

Should I Turn Off My AC If It’s Leaking?
Yes, turn it off immediately at the thermostat and breaker, especially if water is pooling anywhere near outlets or wiring.
How Much Does It Cost To Fix An AC Water Leak?
Costs vary by cause and region, with drain-line cleaning typically costing less than pan replacement or refrigerant leak repair, so an in-person inspection is the only way to get an accurate number.
Recommended
Comments