
AC Not Cooling: Quick Checks and What to Fix First
If your AC is running but not cooling, the problem is almost always one of three things: a dirty filter blocking airflow, a thermostat set wrong, or a clogged outdoor condenser unit. Service data compiled by HVACBase shows the majority of these calls get resolved without a technician, and replacing a filter alone fixes many cases. Start there before you assume the worst.
Here’s your one-minute check:
Thermostat set to “Cool” and fan to “Auto” (not “On”)
Air filter held up to light. Can you see through it? If not, it’s clogged.
Outdoor unit has clear space around it. No leaves, grass clippings, or a fence pressed against the coils.
Pro Tip: If you see ice building up on the indoor coil or refrigerant lines, or the outdoor fan has stopped spinning while the indoor blower keeps running, shut the whole system off now. Running it longer in that state usually turns a cheap fix into an expensive one.
Key Takeaways
An AC that runs but doesn’t cool is fixed in most cases by clearing airflow restrictions, correcting thermostat settings, or cleaning the outdoor condenser, with refrigerant and electrical failures reserved for licensed technicians.
Point | Details |
Start with airflow | Check the filter, vents, and outdoor unit clearance first since these resolve most cases. |
Thermostat mode matters | Confirm “Cool” and “Auto” settings before assuming a mechanical failure. |
Frozen coils mean stop | Turn the system off and let it thaw fully before running it again. |
Refrigerant is a pro job | Leaks require licensed detection and repair, never a simple top-off. |
Texas Comfort Crew diagnoses first | The team explains the actual cause before recommending repair over replacement. |
Table of Contents
Why Is My AC Not Cooling? Start With These Checks
Work through these in order. Each one takes under five minutes, and together they clear up the majority of “AC running but not cooling” complaints.
Check the thermostat mode first. Confirm it’s set to “Cool,” not “Auto” heat/cool or accidentally switched to “Heat.” Set the fan to “Auto” rather than “On,” since running the fan continuously without the compressor cycling just circulates warm air. Incorrect thermostat settings account for nearly 20% of service calls, which makes this the fastest thing to rule out.
Drop the temperature 5 degrees below the current room reading. If the compressor doesn’t kick on within a minute or two, that points toward an electrical or breaker issue rather than a settings mistake.
Check your circuit breakers. Look for a breaker labeled “AC,” “condenser,” or “furnace” that’s tripped to the middle position. Reset it once by switching fully off, then on. If it trips again immediately, stop. That’s a sign of a short or overloaded circuit, and flipping it repeatedly risks damaging the compressor.
Pull the air filter and inspect it. A clogged filter can restrict airflow by up to half, straining the system and often freezing the coil behind it. Replace filters every one to three months depending on pets, dust, and filter grade.
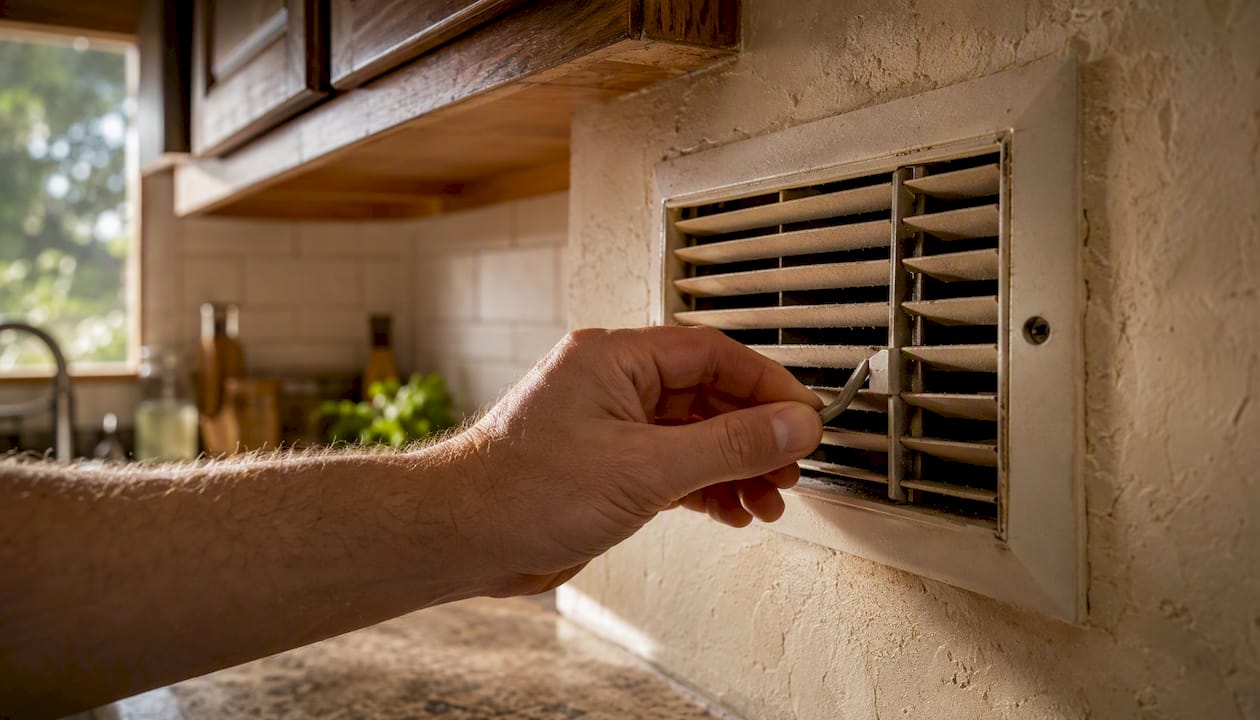
Walk the house and check every vent. Confirm supply registers aren’t blocked by furniture or rugs, and that return vents aren’t covered. Closing off entire rooms to “save energy” is one of the more common self-inflicted airflow problems homeowners create without realizing it.
If all five checks come back clean and the system still isn’t cooling, the issue has moved past the easy stuff.
Airflow Problems: Filters, Vents, and Duct Issues
Airflow is the thing most homeowners underestimate. Your AC doesn’t make cold air out of nothing. It pulls warm air across a cold evaporator coil, and if that airflow is choked off, the coil gets too cold, ices over, and cooling output collapses even though the compressor is running fine.
Weak airflow at the vents, one room that never cools down, or a system that seems to run constantly without catching up are the classic symptoms. Here’s how to isolate where the restriction is happening:
Stand near a supply vent. Weak, barely-there airflow (with the fan confirmed running) suggests a blower problem or a duct blockage upstream.
Check return air grilles for dust buildup or furniture blocking them. Restricted returns starve the whole system of air to cool.
Look at any visible ductwork in the attic or basement for disconnected joints, crushed sections, or missing insulation.
Leaky, poorly sealed, or undersized ductwork can cut delivered cooling by 20 to 30 percent, which explains why some homes never feel cool even with a healthy compressor. A homeowner can tighten a loose vent cover or vacuum a dusty return grille. Sealing duct joints, replacing insulation, or resizing undersized ducts is a job for a pro with the right mastic and testing equipment.
Pro Tip: If one room is always warmer than the rest of the house, check that room’s vent for a closed damper before assuming it’s a duct problem. It’s an easy thing to overlook.
Outdoor Condenser Unit: Clearing Obstructions and Dirty Coils
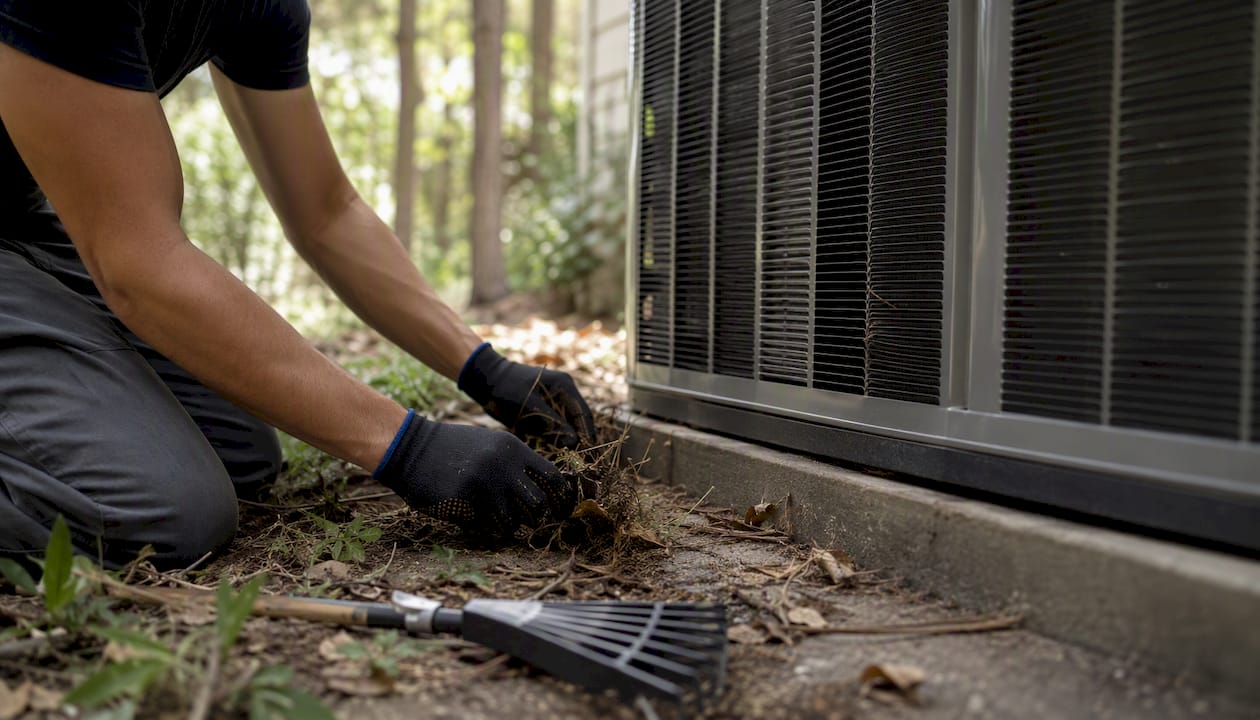
The outdoor unit, or condenser, is where your system dumps the heat it pulled out of your house. If it can’t breathe, cooling suffers no matter how well everything indoors is working. Experts recommend keeping at least two feet of clearance around the unit, free of shrubs, fences, patio furniture, or stacked yard debris.
Safe inspection and cleaning steps:
Turn off power at the disconnect box next to the unit before touching anything.
Clear leaves, grass clippings, and dirt from the fins by hand.
Gently rinse the fins with a garden hose from the inside out, using low pressure so you don’t bend them.
Trim back plants or grass at least two feet on all sides.
Carrier’s technical guidance confirms that dirty condenser coils are one of the most common, and most fixable, causes of poor cooling. If cleaning the coils improves things within an hour, you’ve solved it. If the outdoor fan won’t spin at all, you hear the compressor humming without the fan moving, or you notice oily residue around refrigerant line connections, stop there.
Pro Tip: Never stick anything into the fan housing to try to spin it manually. A stalled fan motor is usually an electrical or capacitor problem, and it’s not a DIY repair.
Refrigerant Leaks and Compressor Problems
Low refrigerant is never a “just add some” situation. The Spruce is clear on this point: refrigerant doesn’t get used up over time like gasoline. If your system is low, it’s leaking somewhere, and topping it off without finding and sealing the leak just delays the same problem and wastes money.
Watch for these signs that point toward refrigerant or compressor trouble rather than a simple airflow fix:
The system runs far longer than it used to without reaching the set temperature
Indoor humidity feels noticeably higher than usual, even with the AC running
Ice forms on the evaporator coil or the refrigerant line itself
A hissing or bubbling sound near the indoor unit or outdoor line set
Oily spots near refrigerant line connections or the outdoor unit
If you catch a frozen coil, turn the system off completely and let it thaw. That can take several hours. Running it continuously while frozen just pushes water into places it shouldn’t be and stresses the compressor. Once thawed, if the freeze comes back within a day or two, that’s a strong signal of either restricted airflow or low refrigerant, and either way, it needs a professional to pressure test the system and find the actual leak.
A quick way to think about repair scope: a simple leak repair and recharge often runs a few hundred dollars depending on the refrigerant type and leak location, while a full compressor replacement is a much larger job, sometimes rivaling the cost of a new outdoor unit given how central the compressor is to the system. Ask for a written diagnosis before agreeing to anything.
Licensed technicians handle refrigerant work because it involves recovering and reclaiming a regulated substance, pressure testing the sealed system, and often brazing copper lines. That’s not a weekend project, and in most states it’s not even legal for anyone without EPA certification to purchase refrigerant.
Electrical Failures: Capacitors, Contactors, and Breakers
A system that runs but doesn’t cool often means the indoor blower is working fine while the outdoor compressor or fan has failed electrically. Trane’s troubleshooting guidance lists tripped breakers, blown fuses, and failed capacitors among the most common culprits.
What you can safely check yourself:
Look at the breaker panel for anything tripped or warm to the touch
Check the outdoor disconnect box (the gray box near the condenser) for a blown fuse
Listen for a humming sound from the outdoor unit with no fan movement. That often points to a failed capacitor
What to leave alone: capacitors store an electrical charge even after power is cut, and a failed one can deliver a serious shock. Contactors and internal wiring carry line voltage that isn’t forgiving of mistakes. If the breaker check and fuse check don’t solve it, this is where a licensed technician takes over.
When to Call an HVAC Technician
Some problems are simply outside safe DIY territory. Call a professional for any of the following:
Refrigerant leaks, low charge, or anything requiring a pressure gauge
Compressor failure or replacement
Capacitor, contactor, or internal wiring repairs
Major duct sealing, resizing, or replacement
A frozen coil that keeps coming back after thawing
Cost varies a lot by region and by what’s actually broken, so treat these as rough ranges rather than quotes. A basic diagnostic visit commonly runs somewhere in the $75 to $200 range. Capacitor or contactor replacement is typically a moderate repair, often finished same-day. Refrigerant leak repair and recharge costs more and depends heavily on the leak location and refrigerant type. Compressor replacement is the most expensive common repair, since it’s a major internal component, and can take anywhere from a few hours to a full day depending on parts availability.
USA TODAY’s home-service reporting recommends confirming basic airflow checks before calling anyone, since a technician showing up for a clogged filter is a wasted visit fee.
Before you hire anyone, ask:
Are you licensed and insured in this state?
What’s the diagnostic fee, and does it apply toward the repair if I move forward?
What’s the warranty on parts and labor?
Can you give me a written estimate before starting work?
Texas Comfort Crew publishes service-area coverage so homeowners can confirm local presence before booking, and the company’s HVAC service page outlines exactly what a diagnostic visit includes.
Preventive Maintenance to Avoid Repeat Breakdowns
Most of the failures covered above are preventable with a routine that takes maybe twenty minutes a season.
Replace the filter every one to three months, more often if you have pets or run the system heavily
Keep the outdoor unit clear of debris and vegetation year-round
Schedule an annual tune-up, ideally in spring before peak summer demand hits
Check the condensate drain line for clogs, especially after months of heavy use
Maintenance plans that bundle these inspections, like the option Texas Comfort Crew offers through its membership program, tend to catch small issues, a weakening capacitor, a slow refrigerant leak, before they turn into a no-cooling emergency in July.
Pro Tip: Book your tune-up in March or April. HVAC companies get slammed once temperatures spike, and a pre-summer check catches problems while there’s still time to schedule a fix without waiting days in the heat.
A Step-by-Step Troubleshooting Checklist You Can Follow Now
0 to 5 minutes: Check thermostat mode and fan setting. Set to “Cool” and “Auto.”
5 to 10 minutes: Check the breaker panel for a tripped breaker. Reset once only.
10 to 15 minutes: Pull and inspect the air filter. Replace if clogged.
15 to 20 minutes: Walk the house and confirm all vents are open and unblocked.
20 to 45 minutes: Power off the outdoor unit and clear debris from the coils. Rinse gently with a hose.
Stop and call a pro if: the coil is frozen, the outdoor fan won’t spin, you hear hissing or see oily residue, or the breaker trips again after one reset.
Each step above builds on the last, so don’t skip ahead. A frozen coil, for instance, is often just the downstream symptom of the dirty filter you’d have caught in step three.
Safety Warnings: What Not to Attempt Yourself
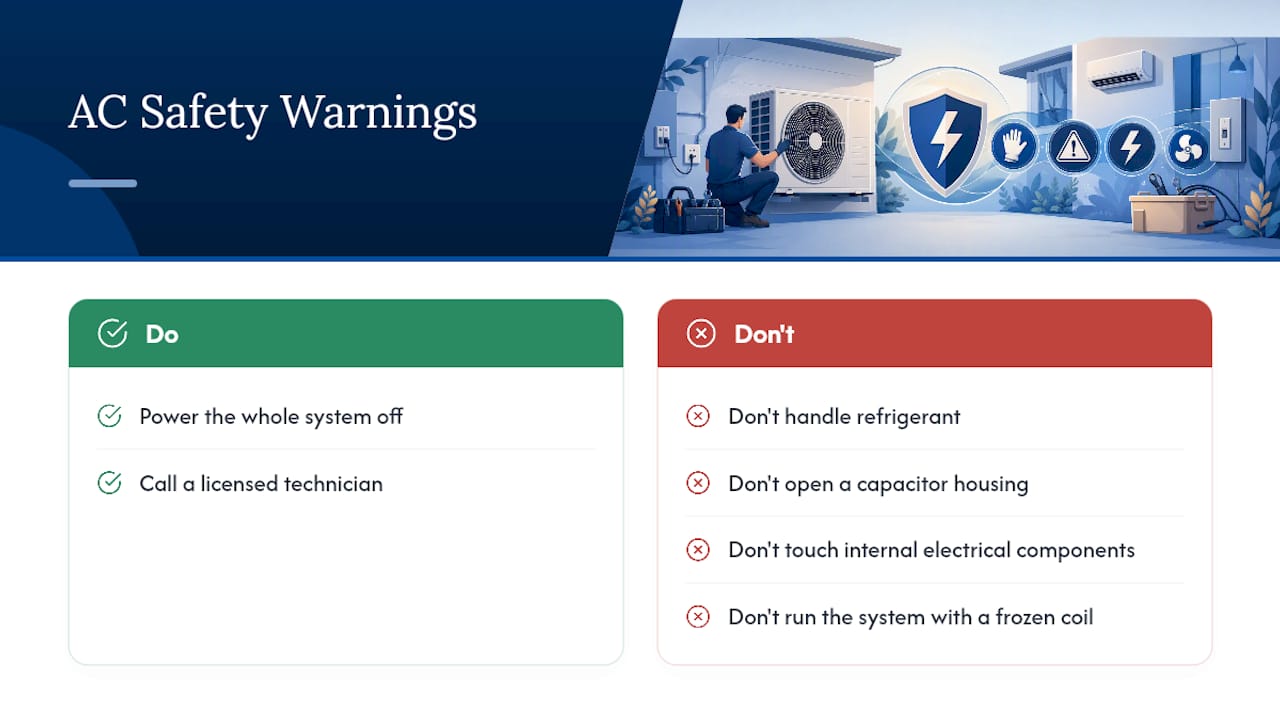
Never handle refrigerant, open a capacitor housing, or touch internal electrical components. These carry real shock and chemical-exposure risks, and refrigerant work is federally regulated. Don’t run a system with a frozen coil hoping it’ll “push through it.” That stresses the compressor and can cause water damage as the coil thaws unevenly. When in doubt, power the whole system off and call a licensed technician rather than guessing.
How a Pro Actually Diagnoses an AC That Won’t Cool
A good technician doesn’t just glance at the outdoor unit and guess. The process usually follows a set sequence:
Ask about symptoms: when it started, whether it’s constant or intermittent, and any recent repairs
Note the system’s age and last service date, since units past 10 to 12 years behave differently under diagnosis
Visually inspect the filter, coils, and drain line
Test electrical components: capacitor readings, contactor function, breaker load
Measure airflow at supply and return vents
Check refrigerant pressures against manufacturer specs and inspect for leak points
Document findings and walk the homeowner through options before starting repairs
A technician who tells you the diagnosis before touching anything expensive, and explains why a repair makes more sense than a replacement, is doing the job the way it should be done. That transparency is the whole point of a proper diagnostic visit, not just a formality before an upsell.
Having your unit’s age, model number, and a rough timeline of symptoms ready before the technician arrives speeds up the whole visit considerably.
A Note From the Field
We see the same pattern constantly: a dirty filter goes unnoticed for months, the coil ices over, and the homeowner assumes the compressor died. Nine times out of ten it’s the filter. That’s exactly why Texas Comfort Crew walks you through the actual cause before recommending a repair, and why replacement only comes up when repair genuinely isn’t the better option for your wallet.
Get Your AC Back to Cooling With Texas Comfort Crew
Texas Comfort Crew handles the full range of “running but not cooling” calls, from a five-minute filter fix to sealed-system leak repair and compressor replacement, without pushing you toward a new unit when a repair will do the job.

When you call, have your system’s age, the symptoms you’re seeing, and your last maintenance date on hand. That alone often cuts diagnostic time in half. If your home falls in Spring Branch, Schertz, or one of the other communities Texas Comfort Crew covers, you can check local availability directly. For homeowners who’d rather catch these problems before they become emergencies, joining the maintenance membership means priority scheduling and a seasonal tune-up already on the calendar. Either way, the next step is simple: schedule a diagnostic visit and get a straight answer about what’s actually wrong.
Sources
FAQ
Should I Turn Off My AC if It’s Not Cooling?
Yes, especially if you see ice on the coils or lines. Running a frozen or malfunctioning system continues to stress the compressor and can cause water damage as it thaws.
How Do I Reset My AC if It’s Not Cooling?
Turn the thermostat off, flip the breaker off for 30 seconds, then turn both back on. If the system still doesn’t cool after one reset attempt, stop resetting it and check the filter and outdoor unit instead.
How Do I Get My AC Cold Again?
Start with the filter, thermostat settings, and outdoor unit clearance since these resolve the majority of cases without a technician. If cooling doesn’t return within an hour of those checks, the issue likely involves refrigerant or an electrical component that needs a professional.
Why Is My AC Not Giving Out Cool Air?
The most common causes are a clogged filter restricting airflow, incorrect thermostat settings, or a dirty outdoor condenser that can’t release heat properly. Less commonly, it’s a refrigerant leak or a failed electrical component like a capacitor.
Recommended
Comments